How to Set up Your Tarpaulin With and Without Hardware
- connoepowell315
- Nov 26, 2025
- 7 min read
Everyone ought to keep on hand a tarpaulin, sometimes known as a tarp, one of those very basic yet very helpful things. A tarp is your best tool whether you have to shield your woodpile from rain, build a quick sunshade for a backyard party, or temporarily cover a dripping roof. Still, many individuals become irritated when their tarp flaps in the wind, collects water, or even rips free totally. Having the cover itself is only half the battle; knowing how to properly attach it will guarantee a good tarp configuration.
Using basic knots and everyday objects, this tutorial will guide you through the key stages of tarpaulin construction with and without traditional tools. Whether you're using a strong Heavy Duty Tarpaulin for a long-term project or some thin Budget Tarpaulins for a fast repair, you'll discover how to build a tight, weatherproof arrangement that resists the elements.
Understanding Your Tarpaulin and Its Weak Points
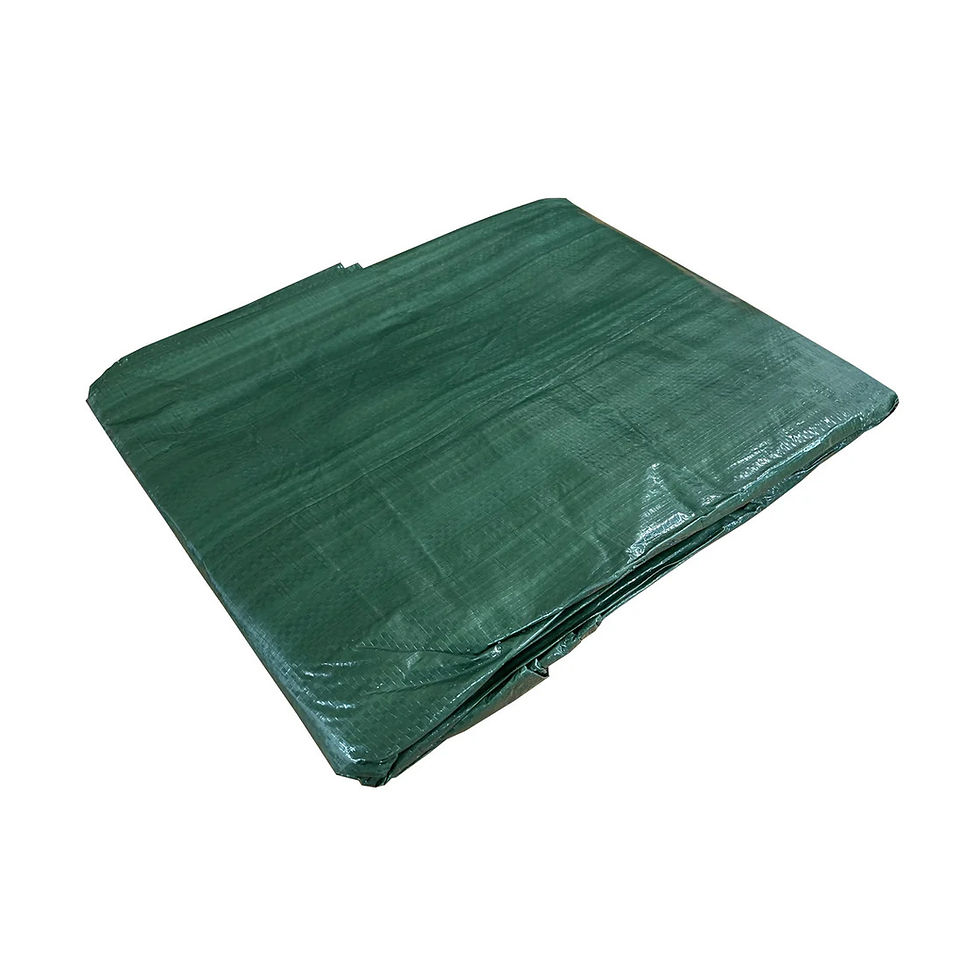
Before you begin fastening anything down, it is imperative to know what you are dealing with. Not every tarp is made the same way. Usually constructed from woven polyethylene or vinyl with strengthened corners and edges, a Heavy Duty Tarpaulin may come in a variety of sizes. These are meant for hard conditions and heavy strain. Budget Tarpaulins, on the other hand, are ideal for short-term, light-duty use since they are frequently made from thinner polyethylene with less reinforcement; yet, they are more prone to tearing under stress.
The grommets, tiny metal rings along the edges, are the most fragile sections of any tarp. These are usually reinforced with extra layers of material on a Heavy Duty Tarpaulin. Cheaper Budget Tarpaulins' grommets may come out shockingly readily. Understanding this guides your decisions on how much pull to use and where to set your anchors. Before you begin, always examine the grommets; if they seem flimsy, you will have to use the without hardware techniques we will cover later to spread the force more equally.
The Golden Rule: Creating a Pitch for Water Runoff
The most important rule for setting up a tarp is to always make a pitch or slope, no matter how you do it. While a flat, tight tarp might seem tidy, it spells calamity. Whether from morning dew or rain, water will gather in the middle. This greatly increases weight, stretches the grommets and fabric, and ultimately results in a tear or a collapse. To ensure that water can flow freely, your first objective is to properly install the tarp.
Simply make sure your tarp has one side raised above the other to get this. Should you be tying it between two trees, one rope ought to be tied toward the top of the trunk. Use a taller pole or support on one side if you are anchoring it to the ground. A little tilt can guide water away and stop it from gathering, which greatly prolongs the life of your tarp and maintains the area below dry.
Method One: Setting Up Your Tarpaulin With Hardware
For Heavy Duty Tarpaulin, which you intend to leave in place for some time, utilizing specialized equipment is the best way to get a strong, robust installation. This technique uses stakes, ropes, and occasionally poles as its main parts.
First you have to get your supplies. Strong and somewhat flexible to absorb wind gusts, good grade nylon or polypropylene rope is perfect. For stakes, there are alternatives. While thicker plastic or strong tent pegs work nicely for softer ground, metal stakes are excellent for firm surface. A basic pole or even a long, strong branch could suffice if you have to build a raised center.
To begin, spread your tarp out flat across the region you wish to cover. Determine which direction you want the water to flow off and modify your high and low sides appropriately. If you are using a center pole, first put it under the tarp and then slowly raise the center to make a pyramid shape. Do not push it; doing so could damage the fabric.
Start next by fastening the corners. Get your rope and make it long enough to go from the grommet to your anchor point (a tree, stake, etc.) with lots of extra length for tying. For this task, the taut-line hitch is the ideal knot. The line can be tightened or loosened easily by sliding this changeable knot up and down the rope; it holds under tension. Since it lets you make small tweaks to achieve that ideal, tight pitch, it's the ideal knot for tarps.
Tie the taut-line hitch to the standing part of the rope after passing one end of it through the grommet. Pull the rope then to your anchor point. If you're staking it straight to the ground, loop the rope around a stake pushed into the ground at a 45-degree angle away from the tarp. This perspective enables the stake to avoid being pulled straight from the earth. If you're tying to a tree, a round turn and two half-hitches knot will provide a strong and easily-to-untie attachment.
Move to the sides once your four corners are fixed. Most tarps feature grommets around their borders between the corners. These help you to create more ties or stakes. This keeps the sides from flapping loudly in the wind and gives the whole thing a lot more strength. The trick is to go around the tarp and tighten each rope a bit at a time instead of tugging one corner very tight before going on to the next. This equilibrium keeps the tension from being too high or too low.
Method Two: Setting up Your Tarpaulin without Using Any Hardware
What do you do with a tarp if you don't have any stakes, poles, or ropes? Maybe you're pressed for time or you're using fragile Budget Tarpaulins and wish to prevent the grommets from ripping out. This is when a little creativity really helps. All you need are the tarp itself and some fundamental knot-tying abilities to build a highly safe system.
Using the soft grommet or catenary approach is the best no-hardware solution. Here you grab a few pebbles or a tiny stone and drop it on the tarp's corner. You then gather the fabric surrounding the stone to make a small bundle. Now you have a strong, fabric-wrapped anchor point instead of relying on one weak grommet. You next tie a basic overhand knot with the long tail of fabric you have made to hold the stone inside. You have essentially made a sturdy, rip-resistant anchor point where you may attach a rope. You can, however, go one better as we are without equipment.
You may attach the tarp straight with these soft grommets if you have trees or posts around. Just grab the cloth tail with the stone inside, wrap it around the tree, and then bind it to itself. Together with the security of the knot, the fabric's rubbing against the tree may keep very firmly. To prevent the billowing effect of wind, you can utilise the same stone technique for the sides to make tie-down spots along the edges.
Utilizing the weight of the earth itself is yet another smart approach for a ground cover free of stakes. Don't just put the tarp on top if you're using it to cover a pile of dirt or mulch on the ground. Dig a little trench about the pile instead. Cover the pile with the tarp, let its sides hang into the trench, and then rebury the edges of the tarp by filling in the trench with the soil you removed. The soil's weight will firmly hold the tarp down; no wind will be able to reach beneath it. Budget Tarpaulins can be effectively and affordably fixed over winter garden beds or compost heaps with this approach.
Essential Knots for a Secure Setup
A few basic knots might determine if a tarp survives a storm or finds up in the next county. You only need to know these two; you are not required to be a scout leader.
The first is the taut-line hitch, which we talked about earlier. Tarp work depends on an adjustable loop knot that is totally vital. You use it to make a loop that tightens when pulled but can be easily changed when it's loose. This enables you to keep your ropes exactly tight without having to often undo and tie them.
The second is the bowline. This knot forms a fixed loop at the end of a rope that is fairly simple to undo but will not slide or get stuck under strain. It is ideal for making a loop to toss around a tree branch or post. To tie a bowline, picture the rabbit story: The rabbit (the working end of the rope) emerges from its hole, circles the tree (the standing part), then returns to its hole.
Tips for Longevity and Safety
Whether it's a top-notch Heavy Duty Tarpaulin or a low-cost collection of Budget Tarpaulins, treating your tarp well guarantees it will be useful for several future tasks. Shake off any leaves or dirt and let your tarp dry fully before folding and storing it when you are removing it. Keeping a wet tarp will cause mildew, which damages the material and produces foul smells.
Always be aware of safety. A tarp can behave like a sail in strong winds, hence the stresses on your ropes and anchors can be quite great. Double-check your stakes and knots if unfavorable weather is predicted. Never utilize a tarp as a long-term roof repair without first consulting a specialist, and always check that any setup allows for adequate ventilation if intended as a shelter.
Your Tarp, Your Way
Learning to properly set up a tarpaulin is a rather basic but useful talent. Grasping the value of a decent pitch and learning a few simple methods will enable you to handle any covering assignment with ease. You now have the knowledge to build a secure, efficient, and lasting setup whether you have a full set of equipment for your Heavy Duty Tarpaulin or need to quickly create a shelter out of a few Budget Tarpaulins and some knots. Get some rope and your tarp, then transform that fluttering plastic sheet into a dependable barrier against the weather.


Comments